
juOnTech: Hard Dicks Drive Me Crazy
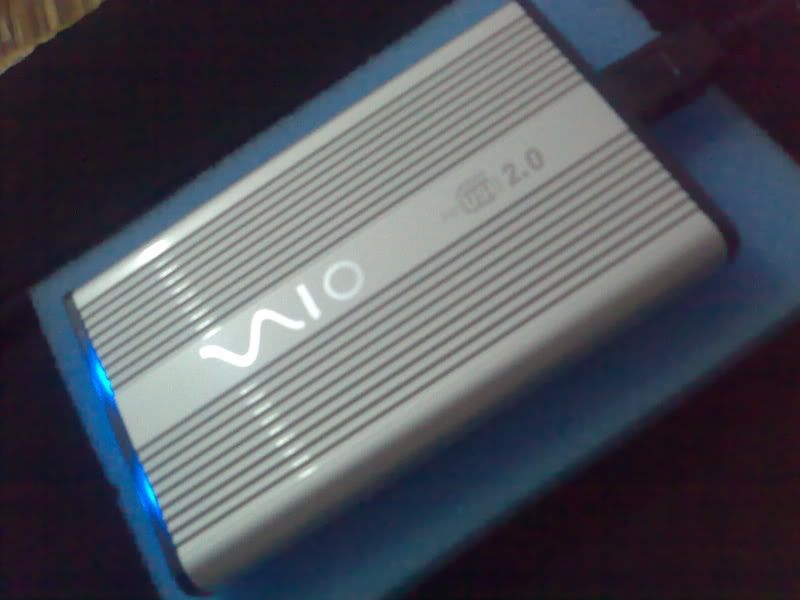
I mean hard discs drive me crazy. My obsession with my Macbook never stops. Since I feel that its 60 GB internal HDD will not suffice for the grand projects I intend to do with it (accumulating porn not being one of them), I used the money I sold my Samsung X820 with to buy a 120 GB 2.5” Seagate IDE HDD. I bought the HDD and a separate enclosure and assembled it myself. It’s cheaper than buying a ready to use HDD. It’s not that tricky really. In fact, the actual assembly of the hardware doesn’t even take 10 minutes. What took me along time to figure out was how to format the drive for dual OS support or as a swappable drive (MS Windows to Mac OS and vice-versa). Before this bold move (considering the serious investment in buying a raw HDD and the possibility of bricking it in attempts to format it), I of course searched the web for DIY instructions. Unfortunately, most of the instructions I found in the last few weeks that I’ve been searching all yielded results for MS Windows HDD formatting. Nevertheless, I went to Greenhills yesterday after work to shop. I returned to this store where I saw the HDD I wanted last week. I asked the lady owner of the store how much the thing costs, and how much it’ll be if I had her assemble and format it. Here is her computation:
HDD: Php 5500
Casing: Php 1200
Formatting for dual OS support : Php 800
Total Damage: Php 7500
Hhhm. Pretty expensive. So I told her I’d look around first. And guess what I found? I found a Php 380 HDD enclosure. And here is what is staggering. The lady in the first store I visited said they had to charge me 800 if I ask them to format the disc for dual OS support because they would have to install a special software on it. Motherfucker! I discovered myself when I was experimenting on my Mac that OS X actually could do that for me. Here’s what I did:
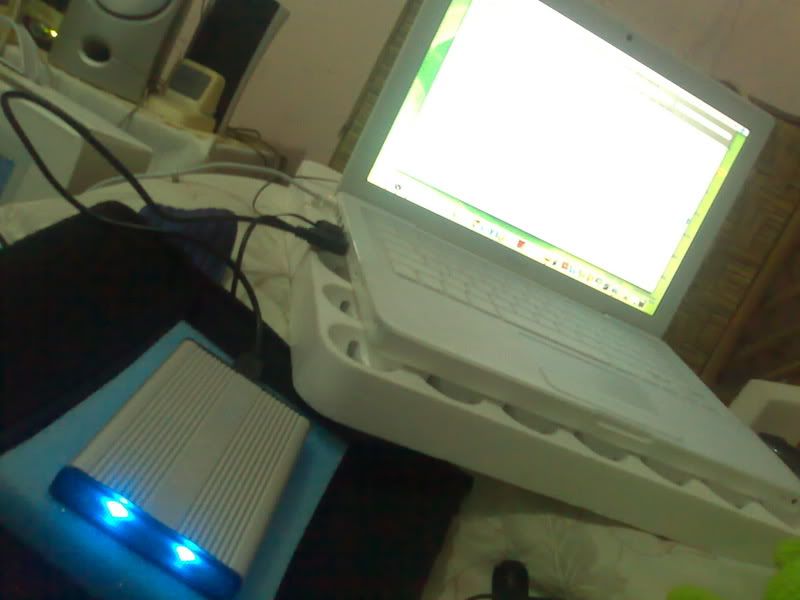
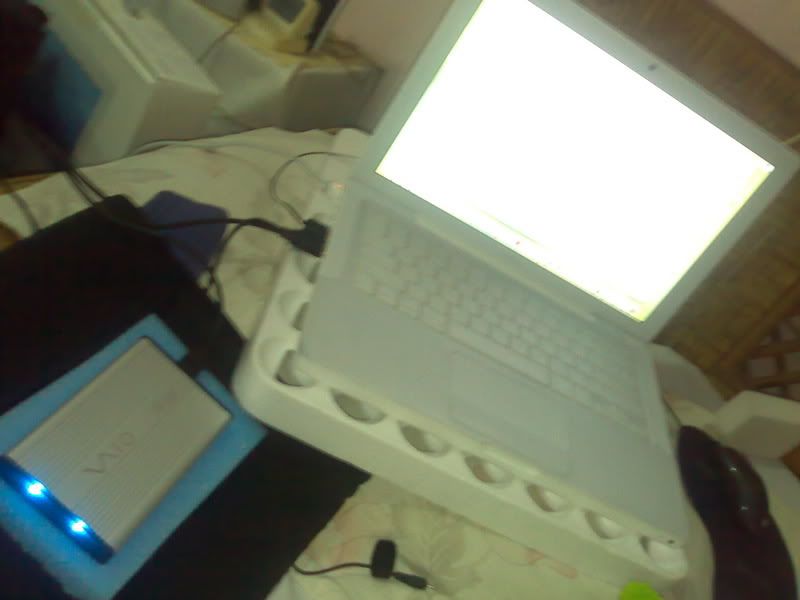
1. I connected the fresh HDD via USB to my Mac.
2. The Mac immediately recognized the drive and it appeared as “untitled” on the desktop.
3. I went to Applications>Utilities>Disk Utility.
4. I clicked on the external drive (in my case it was labeled 111.8 GB Generic External Disc) and then went to the Erase pane.
5. In the Erase pane, I chose MS-DOS File System in the Volume Format drop-down menu and then clicked Erase.
6. I went to the Partition pane afterwards and then clicked Partition.
7. When that was done, I ejected the HDD and tried it on my PC. The PC recognized it. I also wrote files on it and it worked.
8. I tried it again on my Mac and it was recognized immediately. I was able to copy the files I got from my PC to the Mac.
Coolness. And to think that lady was about to charge me 800 bucks for a few clicks on the keyboard? So if you also got a Mac and plan to assemble your own external HDD, I hope this helps a bit.

2 comments:
since when have u been such a gadget freak?
i dont even know how the extra features in my phone work.
since when have u been such a gadget freak?
i dont even know how the extra features of my phone work.
Post a Comment